Community Training Classes & Labs > F5 Solutions for Kubernetes Index
2.3.2. Test ASP and F5 Kube Proxy
The F5 ASP instances and F5 kube proxy instances have been deployed. Now we need to test our setup. To do so we will setup a backend application that will be reached by the frontend application we created earlier.
To deploy the backend application, connect to the master
We need to create two configuration to deploy our backend application:
- The deployment: it will define the application to deploy
- The service: will define our access our application. It will also contains annotations to leverage the ASP Lightweight proxy
Create a file called my-backend-deployment.yaml. Here is its content: —> Please use the file in /home/ubuntu/f5-demo
apiVersion: extensions/v1beta1
kind: Deployment
metadata:
  name: my-backend
spec:
  replicas: 2
  template:
    metadata:
      labels:
       run: my-backend
    spec:
      containers:
      - image: chen23/f5-demo-app
        imagePullPolicy: IfNotPresent
        env:
        - name: F5DEMO_APP
          value: "backend"
        name: my-backend
        ports:
        - containerPort: 80
          protocol: TCP
Create another file called my-backend-service.yaml. Here is its content: —> Please use the file in /home/ubuntu/f5-demo
apiVersion: v1
kind: Service
metadata:
  annotations:
    asp.f5.com/config: |
       {
          "ip-protocol": "http",
         "load-balancing-mode": "round-robin",
         "flags" : {
           "x-forwarded-for": true,
           "x-served-by": true
         }
       }
  name: my-backend
  labels:
    run: my-backend
spec:
  ports:
  - name: "http"
    port: 80
    protocol: TCP
    targetPort: 80
  selector:
    run: my-backend
Once our files are created, we can deploy our backend application with the following commands:
kubectl create -f my-backend-deployment.yaml

kubectl create -f my-backend-service.yaml
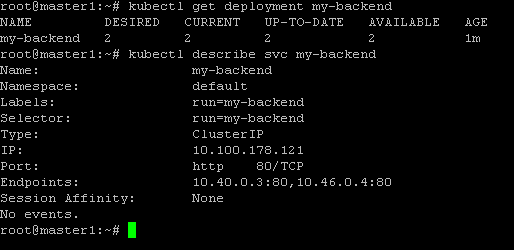
You can check if the deployment was successful with the commands:
kubectl get deployment my-backend

kubectl describe svc my-backend
To test our application, access the frontend app with your browser. It is available via the BIG-IP with the URL: http://10.1.10.81
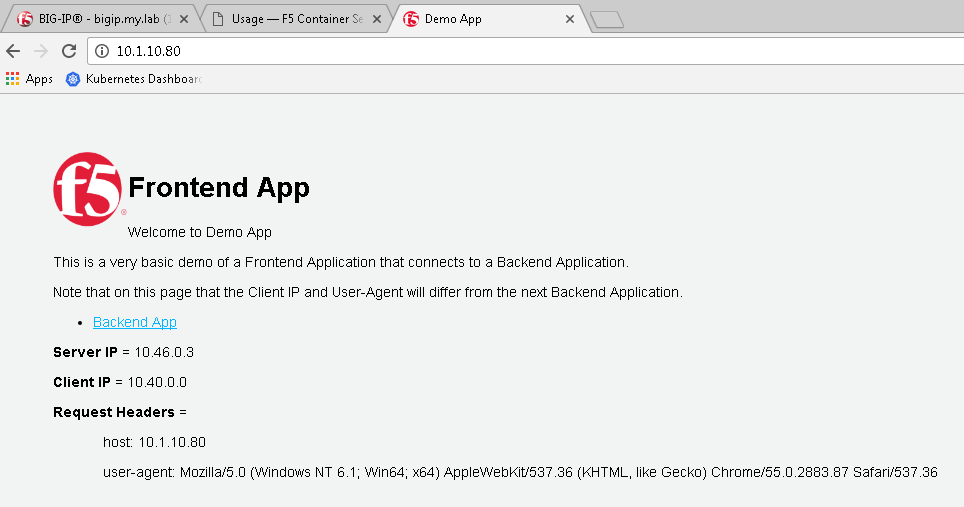
click on “Backend App”. Here you should see that the client is frontend app and not your browser anymore. It is because we did Client -> Frontend App -> Backend App
