Community Training Classes & Labs > F5 Solutions for Kubernetes Index
1. Getting Started
Please follow the instructions provided by the instructor to start your lab and access your jump host.
Note
All work for this lab will be performed exclusively from the Windows jumphost. No installation or interaction with your local system is required.
1.1. Lab Topology
In this section, we will cover our setup:
- 1 basic cluster:
- 1 master (no master HA)
- 2 nodes
We will connect to a pre-built environment in Ravello
In the existing environment, here is the setup you’ll get:
| Hostname | Kubernetes IP | Role | Login/Password |
|---|---|---|---|
| ip-10-1-1-4 | 10.1.10.11 | Master | ssh: ubuntu/ravello - su : root/default |
| ip-10-1-1-5 | 10.1.10.21 | node1 | ssh: ubuntu/ravello - su : root/default |
| ip-10-1-1-6 | 10.1.10.22 | node2 | ssh: ubuntu/ravello - su : root/default |
| Windows | <public IP> | Jumpbox | rdp: student/agility |
Here are the different aspects to take into account during this installation guide:
- We use Ubuntu xenial in the blueprints
- We updated on all the nodes the /etc/hosts file so that each node is reachable via its name
#master and nodes host file
$ cat /etc/hosts
127.0.0.1       localhost
10.1.10.11       ip-10-1-1-4 master1 master1.my-lab
10.1.10.21       ip-10-1-1-5 node1  node1.my-lab
10.1.10.22       ip-10-1-1-6 node2  node2.my-lab
You have many manuals available to explain how to install Kubernetes. If you don’t use Ubuntu, you can reference to this page to find the appropriate guide: Getting started guides - bare metal
Here you’ll find guides for:
fedora
Centos
Ubuntu
CoreOS
and some other guides for non bare metal deployment (AWS, Google Compute Engine, Rackspace, …)
1.2. Connecting to Ravello
This guide will help you to either setup your own environment or leverage Ravello to learn about this.
1.2.1. Connect to your Ravello Student environment
Warning
With this blueprint, you don’t have to do the cluster setup guide
| Hostname | Kubernetes IP | Role | Login/Password |
|---|---|---|---|
| Master 1 | 10.1.10.11 | Master | ssh: ubuntu/ravello - su : root/default |
| node 1 | 10.1.10.21 a | node | ssh: ubuntu/ravello - su : root/default |
| node 2 | 10.1.10.22 | node | ssh: ubuntu/ravello - su : root/default |
| Windows | <public IP> | Jumpbox | rdp: student/agility |
1.2.2. Access your environment
Once your environment is started, find the ‘Windows CTF Jumpbox’ component under list of VMs and launch RDP (in the ACCESS menu)
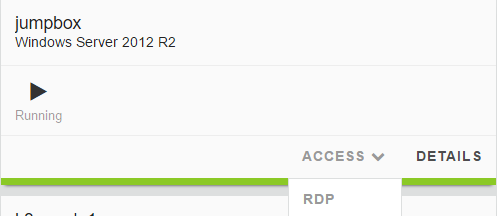
Click on the shortcut that got downloaded and it should open your RDP session. The credentials to use are student/agility
If you have trouble reading the text please see optional directions for changing text size in the Appendix.
Warning
For MAC user, it is recommended to use Microsoft Remote Desktop. You may not be able to access your jumpbox otherwise. It is available in the App store (FREE).
Change keyboard input
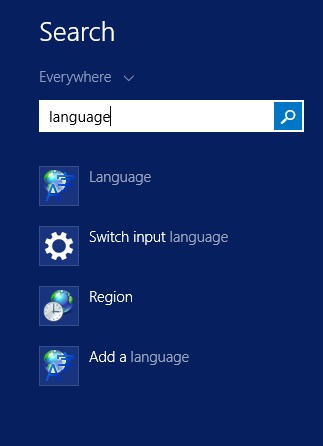
The default keyboard mapping is set to english. If you need to change it, here is the method
- Click on the start menu button and type ‘Language’ in the search field.
- Click on ‘Language’ option in the search list
- Click on ‘Add a language’
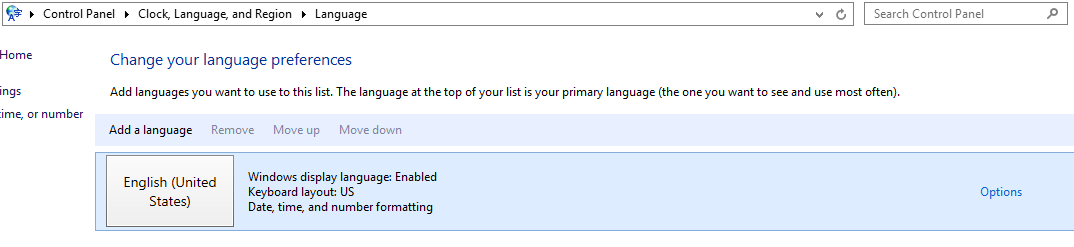
- Add the language you want to have for your keyboard mapping.
Once you have access to your environment, you can go directly to the container connector section: Overview of F5® Container Connector (CC)
—> All the files referenced in this guide can be accessed in the /home/ubuntu/f5-demo directory. Please use the files in this directory, to avoid syntax issues from copy/paste errors <—