Community Training Classes & Labs > F5 Solutions for Kubernetes Index
2.4.2. Setup master
2.4.2.1. Master initialization
The master is the system where the “control plane” components run, including etcd (the cluster database) and the API server (which the kubectl CLI communicates with). All of these components run in pods started by kubelet (which is why we had to setup docker first even on the master node)
we will setup our master node on master, connect to it.
to setup master as a Kubernetes master, run the following command:
sudo kubeadm init --api-advertise-addresses=10.1.10.11 --use-kubernetes-version=v1.5.3 --pod-network-cidr=10.244.0.0/16
Here we specify:
- The IP address that should be used to advertise the master. 10.1.10.0/24 is the network for our control plane. if you don’t specify the –api-advertise-addresses argument, kubeadm will pick the first interface with a default gateway (because it needs internet access).
When running the command you should see something like this:

The initialization is successful if you see “Kubernetes master initialised successfully!”
you should see a line like this:
sudo kubeadm join --token=62468f.9dfb3fc97a985cf9 10.1.10.11
This is the command to run on the node so that it registers itself with the master. Keep the secret safe since anyone with this token can add authenticated node to your cluster. This is used for mutual auth between the master and the nodes
Warning
save this command somewhere since you’ll need it later
You can monitor that the services start to run by using the command:
kubectl get pods --all-namespaces
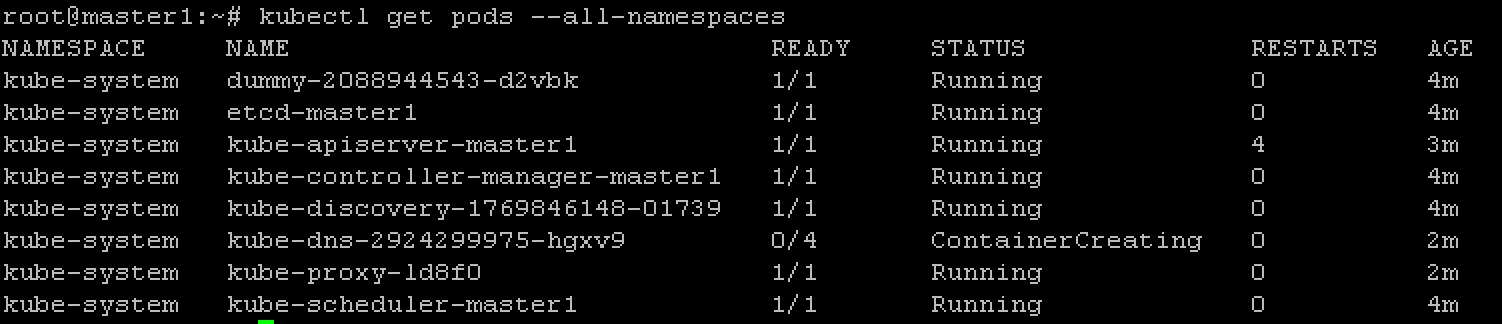
kube-dns won’t start until the network pod is setup.
2.4.2.2. Network pod
You must install a pod network add-on so that your pods can communicate with each other.
It is necessary to do this before you try to deploy any applications to your cluster, and before* kube-dns* will start up. Note also that kubeadm only supports CNI based networks and therefore kubenet based networks will not work.
Here is the list of add-ons available:
- Calico
- Canal
- Flannel
- Romana
- Weave net
We will use Flannel as mentioned previously. To set Flannel as a network pod, we need to first modify the flannel deployment. First download the YAML deployment file.
wget https://raw.githubusercontent.com/coreos/flannel/master/Documentation/kube-flannel.yml
Change “vxlan” to “host-gw” for Type.
net-conf.json: |
        {
        "Network": "10.244.0.0/16",
        "Backend": {
                "Type": "host-gw"
        }
        }
Also specify the correct interface (only necessary if you multiple interfaces)
command: [ "/opt/bin/flanneld", "--ip-masq", "--kube-subnet-mgr", "--iface=ens4" ]
Now deploy flannel.
kubectl apply -f ./kube-flannel.yml
2.4.2.3. check master state
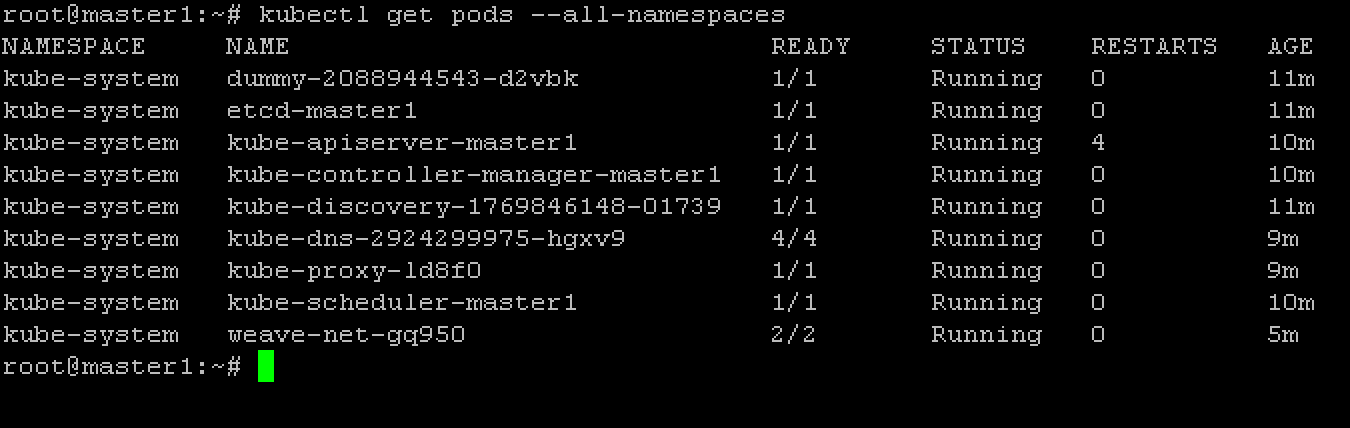
If everything runs as expected you should have kube-dns that started successfully. To check the status of the different service, you can run the command:
kubectl get pods --all-namespaces
The output should show all services as running
kubectl get pods –all-namespaces
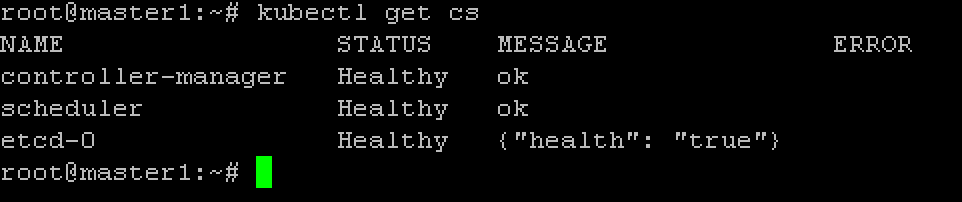
kubectl get cs
kubectl cluster-info

The next step will be to have our nodes join the master